
Correctly size images for your blog using BlogStomp
BlogStomp is no longer our flagship blogging software, as we have replaced it with Storytailor.
We are still supporting the BlogStomp software and its users, but BlogStomp is no longer available for purchase. Learn more about Storytailor HERE.
So you own BlogStomp, but now you need to use it to make your images look AMAZING on your blog, right?
Every blog has a different width (generally speaking a WordPress site is 900px wide for the blog section, but every theme is different).
Just be wary, if you want your images to look good on retina you need to stomp your images at twice the width. Check out this infographic for more info.
To find the size that you need to stomp your images at go to your blog and right click on the text just above your images, scroll down to inspect.
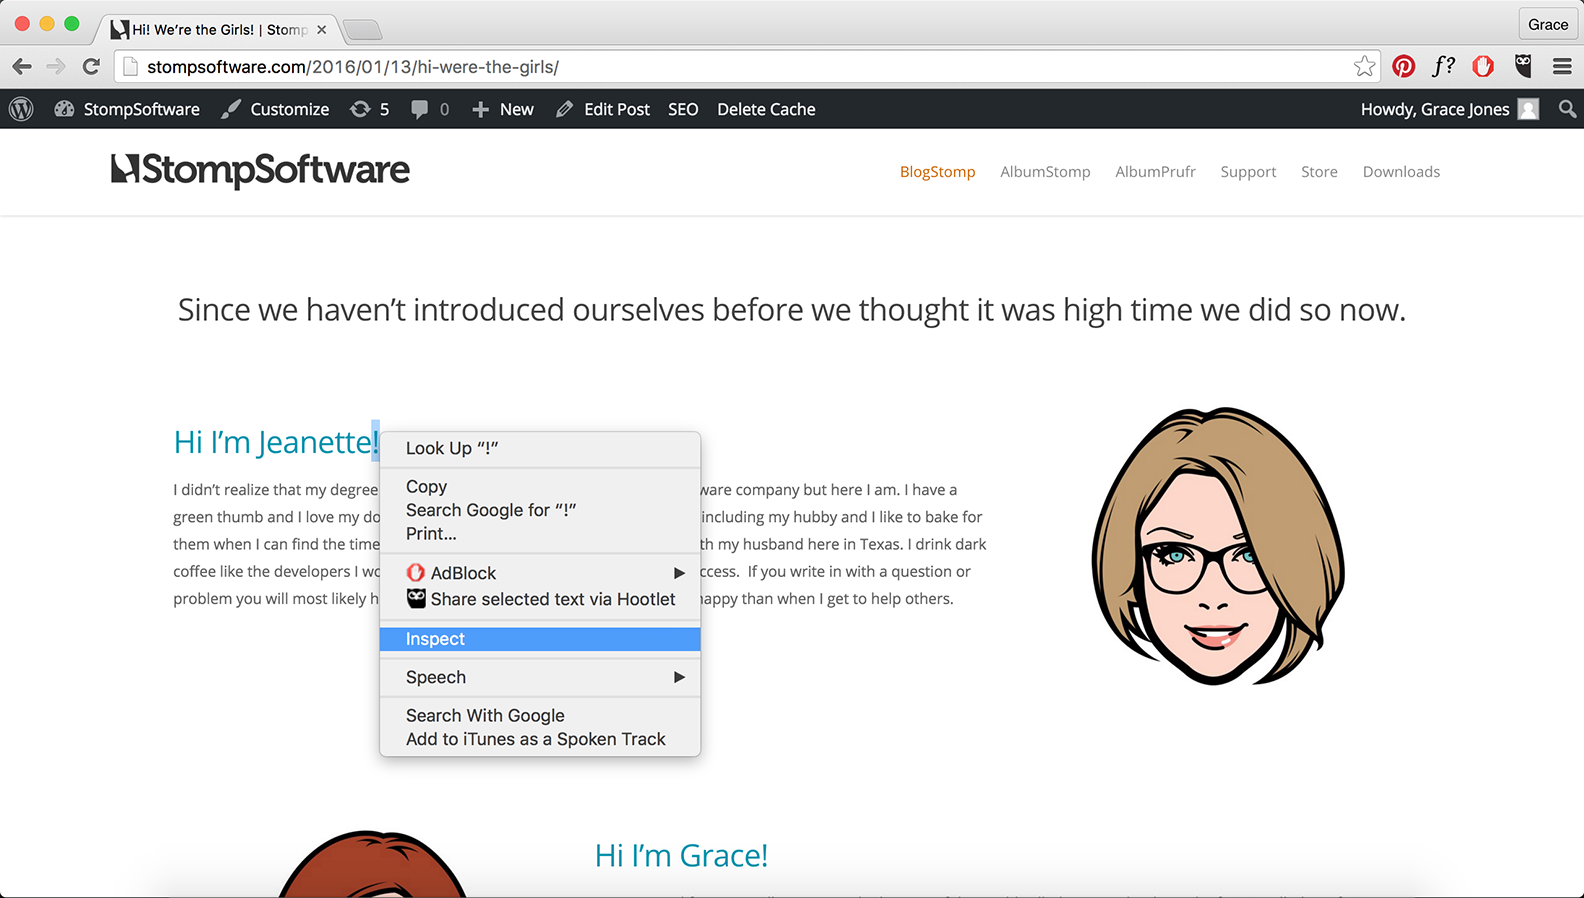
A bar will appear at the bottom or the side of your webpage.
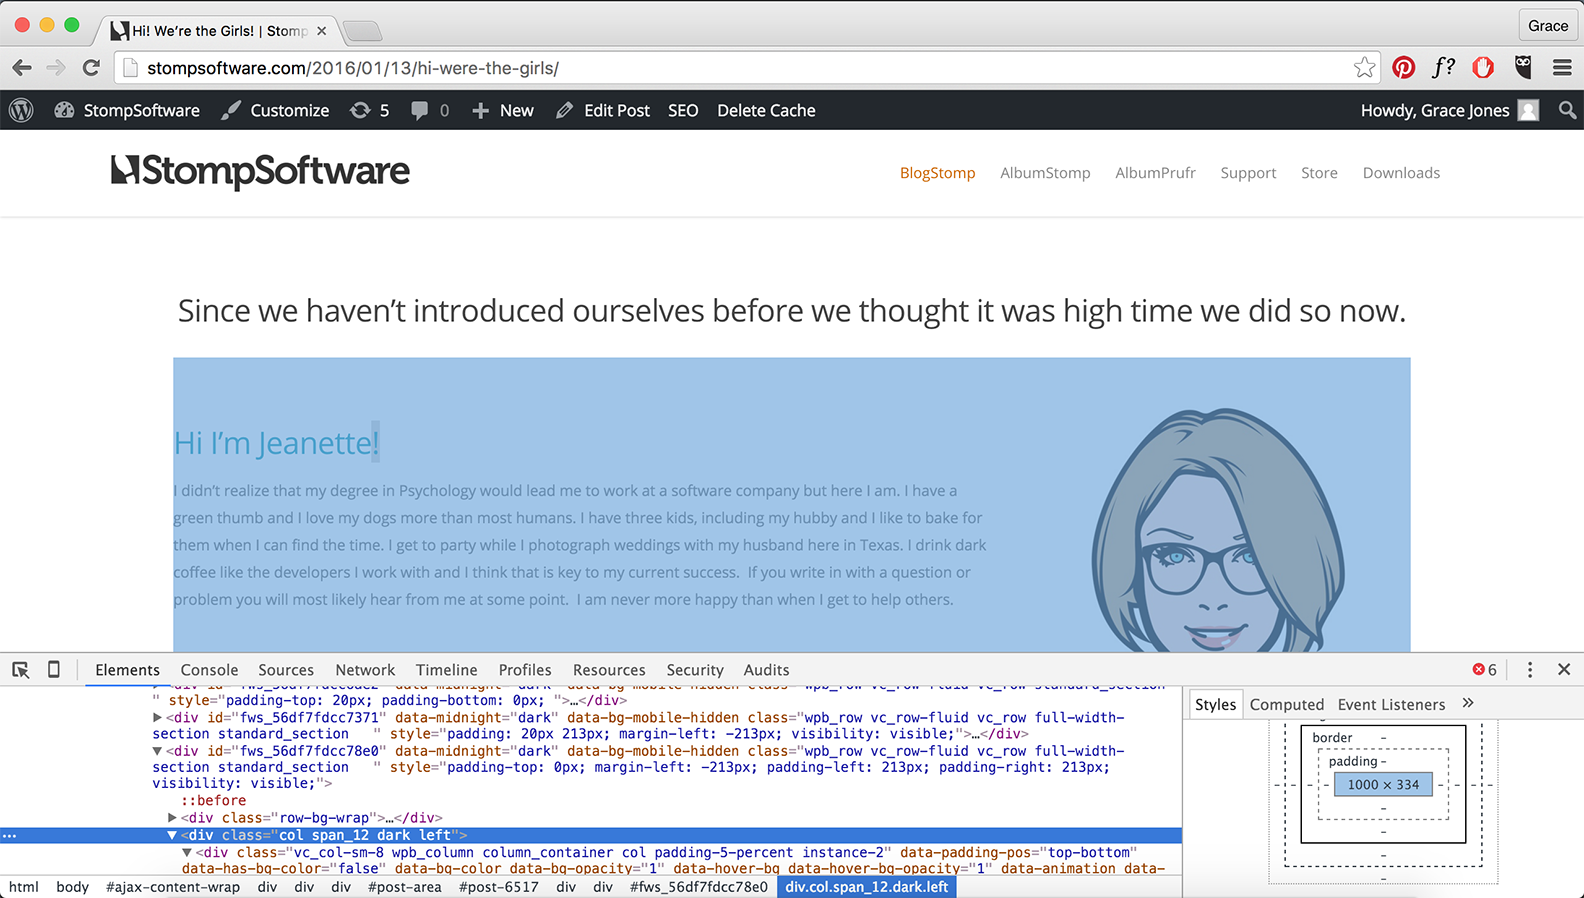
In the elements section scroll up until you find the div class that is encapsulating the text (for example our one is called <div class=”col span_12 dark left”>) and select it.
In the styles section scroll to the very bottom and you’ll see a square surrounded by other squares with a number in the middle. The number in the middle tells you how big that div area is (for example our one is 1000x334px). The first number is the width and this is the one you need to take extra attention of as this is how wide you need to stomp your images.
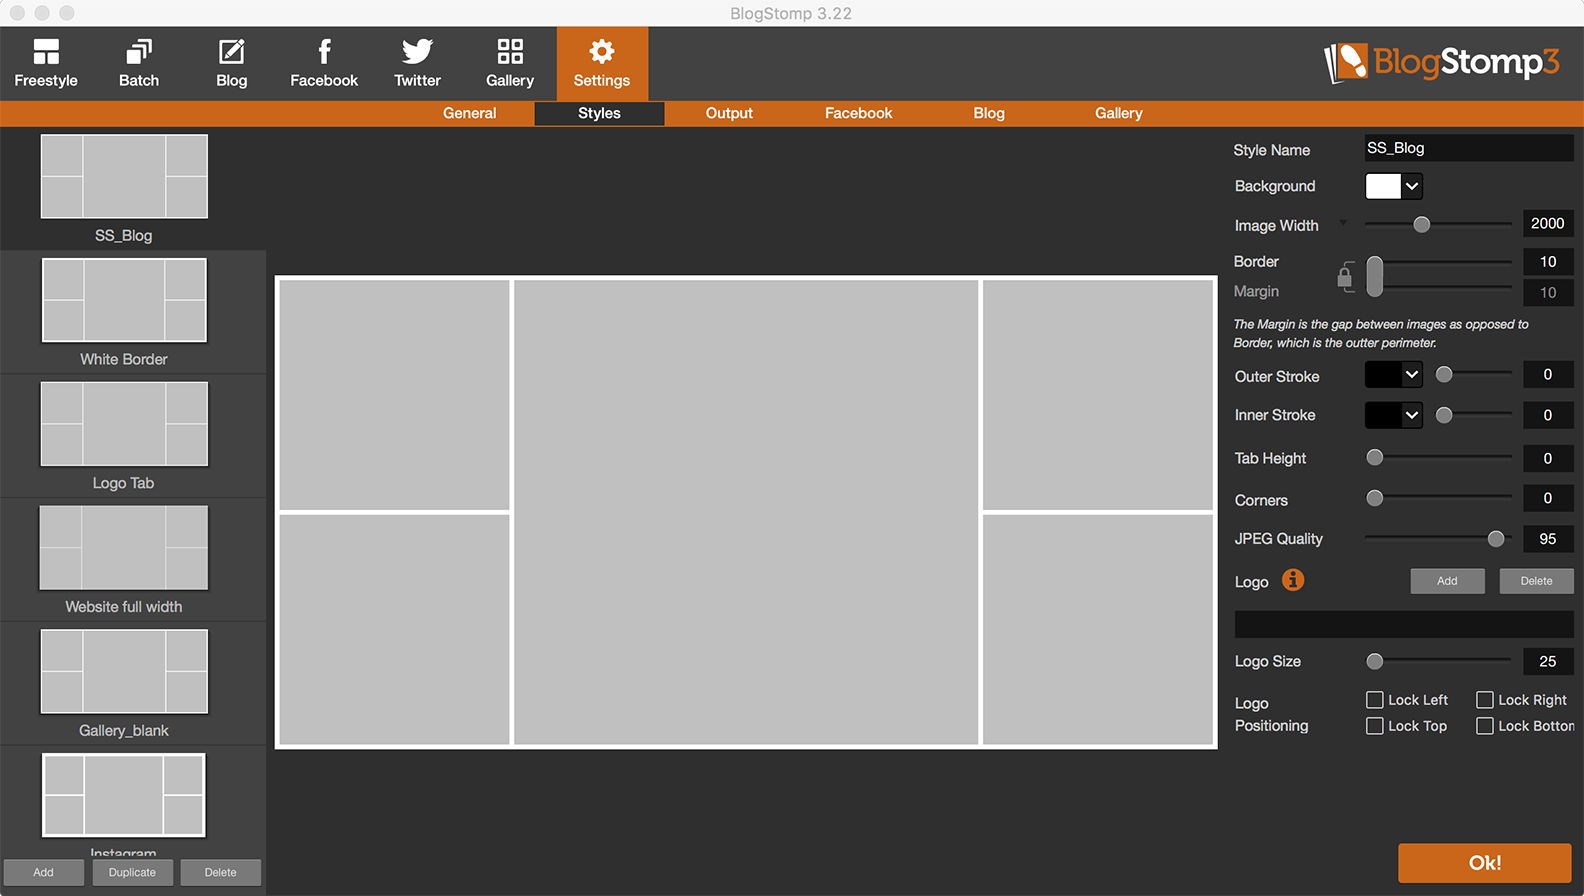
Once you have your size go back into BlogStomp and create a specific style for your blog.
So for OUR blog to have amazing looking images on both retina and non-retina screens we stomp our images at 2000px wide. Check out our style 🙂
Happy Stomping!!
Still can't find what you're looking for? We're here to help