“Being busy does not always mean real work. The object of all work is production or accomplishment and to either of these ends there must be forethought, system, planning, intelligence, and honest purpose, as well as perspiration. Seeming to do is not doing.”
– Thomas A. Edison
If there’s anything we can glean from these words from serial inventor and notorious hard-worker Thomas Edison, it is that elbow grease is important, but more important is working smart, working intentionally, and not wasting time on repeatable, menial tasks. As a photographer we can streamline our workflow and get out form behind the computer faster by following these 5 simple steps.
———
Step 1 – Shoot Intentionally

For the most part, when you or I arrive for a shoot, we know what sort of images we *have* to deliver. No matter the type of shoot, there are always the “must have” shots. As much as possible, execute those quickly and early, so that you can free up your attention for the candid, unscripted moments that are so very important.
Shooting with the end result in mind can help you focus, help assure you get the photos you need, and free your mind and your attention to be aware and attentive in the moment to capture the moments your clients will love forever. And it will also help with Step 2…
Step 2 – Sort Immediately

Sometimes our photo sessions keep us out into the wee hours, and can be entirely exhausting. It’s tempting to crash out and call it a night as soon as you get home. But whether it’s the same day, the next day, or within a set number of days after the shoot, sort your images from the shoot as soon as you can. Your memories of the event will be clearer and you’ll be more strongly drawn to the important images.
Wedding photographer Ginny Corbett has a pretty solid system in place :: “Wanting to get a jump start on my post processing, I will start to download cards and begin the sorting process during the reception. While the bride and groom and guests are eating dinner I’ll download the cards from the early parts of the day and will start to sort in PhotoMechanic. Throughout the night my second shooter and I will take turns taking photos on the dance floor and downloading/sorting. We’ll shoot all the important parts (cake, first dances, tosses, exit) together, but during the “open dance” portions one of us will shoot and the other will download and sort.
“By the time I get home from the wedding the only thing I’ve got left to sort is the reception, and I do that while the image files are transferring onto my main hard drives. I love going to bed with images sorted, renamed, and ready to send off for post-processing!”
If you’ve shot intentionally as described in Step 1, sorting through the “must have” images will be a breeze since you made those photos early in the shoot, or systematically throughout the session.
Sorting immediately after a shoot or an event will help make the next steps a breeze.
Step 3 – Send Images

Processing every shoot can be a laborious part of your workflow. Especially if you are a wedding photographer balancing hundreds of photos in dozens of lighting scenarios, ensuring your photos have a consistent, professional quality look can take hours or days of your life. Many photographers choose, instead, to rely on the pros for this step.
In the past several years post-production houses have become an integral part of many a photographer’s workflow. You upload your RAW photos or your Lightroom Smart Previews and a team of image pros makes them look just the way you want them to, based on the preferences and style you’ve established with the company. In just a few days you get your processed files or previews back, and once you sync them up with the files on your computer, you’re done! Some will even upload the processed JPG files to your online gallery for you if you want.
Some folks look at this type of situation with the attitude of “Why would I want to pay for that when I can do it myself?!” The answer is that there are a distinct number of tasks that only you can do for your business, and you have a finite number of hours in your day to get them done. Outsourcing your initial post processing is a fantastic way to free up hours or days of your time so that you can do the important work that only you can do, and get back to doing the things you love faster.
Sending images out to be processed will help you prepare for this next step.
Step 4 – Share Incrementally

Once your images are processed and ready to share, it’s important to maximize their reach online. Sharing photos on your blog is only part of the equation, and a thorough social media strategy is vital to your business’s success.
Start with your blog. Encouraging web traffic to your blog is paramount. Keeping a consistent stream of content to your blog will help boost your Google ranking and will keep your regular blog viewers coming back frequently.
Facebook is also a fantastic way to gain traction, and the ability to tag your clients (and their vendors, family, friends, etc.) in the photos takes it many steps further than you’re able to do on your blog. The trick with Facebook is remembering what exactly its purpose is in the world. Facebook is a social connection site, not an image sharing site. They honestly don’t want your images on their servers, so they compress them *dramatically* upon upload to make them as small as they possibly can. This will affect your image quality. So it’s important to remember that Facebook will never be the place where your images look their best online. But the importance of using Facebook is in the breadth of reach it offers. So use Facebook to share images, but make sure you’re pointing people back to your website where your images will look much, much better.
Instagram and Pinterest are other places to consider sharing your images online. After Facebook, Instagram has the highest engagement in the 18-34 demographic, meaning that your clients spend an insane amount of their time there. Dropping individual images from a shoot or event over time and pointing back to your blog post will keep your website traffic and engagement high. And a recent study from Think Splendid reveals that “Pinterest is (still) the most used social media platform among wealthy brides and grooms. (Instagram is number five. Yes, really.)” [hat tip to Christine Tremoulet for pointing that out to us]. While Pinterest may not be experiencing such explosive growth now as it did in 2013/2014, it’s impossible to deny Pinterest’s importance to your clients and potential clients.
Since every social media platform has its own unique requirements on photo size and shape, it can be frustrating to try and prep the same set of images 5 different ways for use on these platforms. You can always use the same photos for each, but then you’re allowing the likes of Facebook and Instagram and Pinterest to control the resizing of your images — not a good plan. This is where tools like BlogStomp prove their value. BlogStomp allows you to create different Styles unique to the destination, so you can ensure the photo you send up will be optimized specifically for that platform and will represent you the best. It even incorporates tools like an Instagram crop tool that will crop to square or even add “padding” so the entire image shows in your IG grid. And BlogStomp’s FreeStyle Mode allows you to make tall, slender collages of images, perfect for your blog and for Pinterest, both of which love this format.
Click *HERE* to give it a look.
Sharing your photos early and often will excite your clients, increase your website traffic, and will result in more inquiries coming your way.
Step 5 – Ship It!

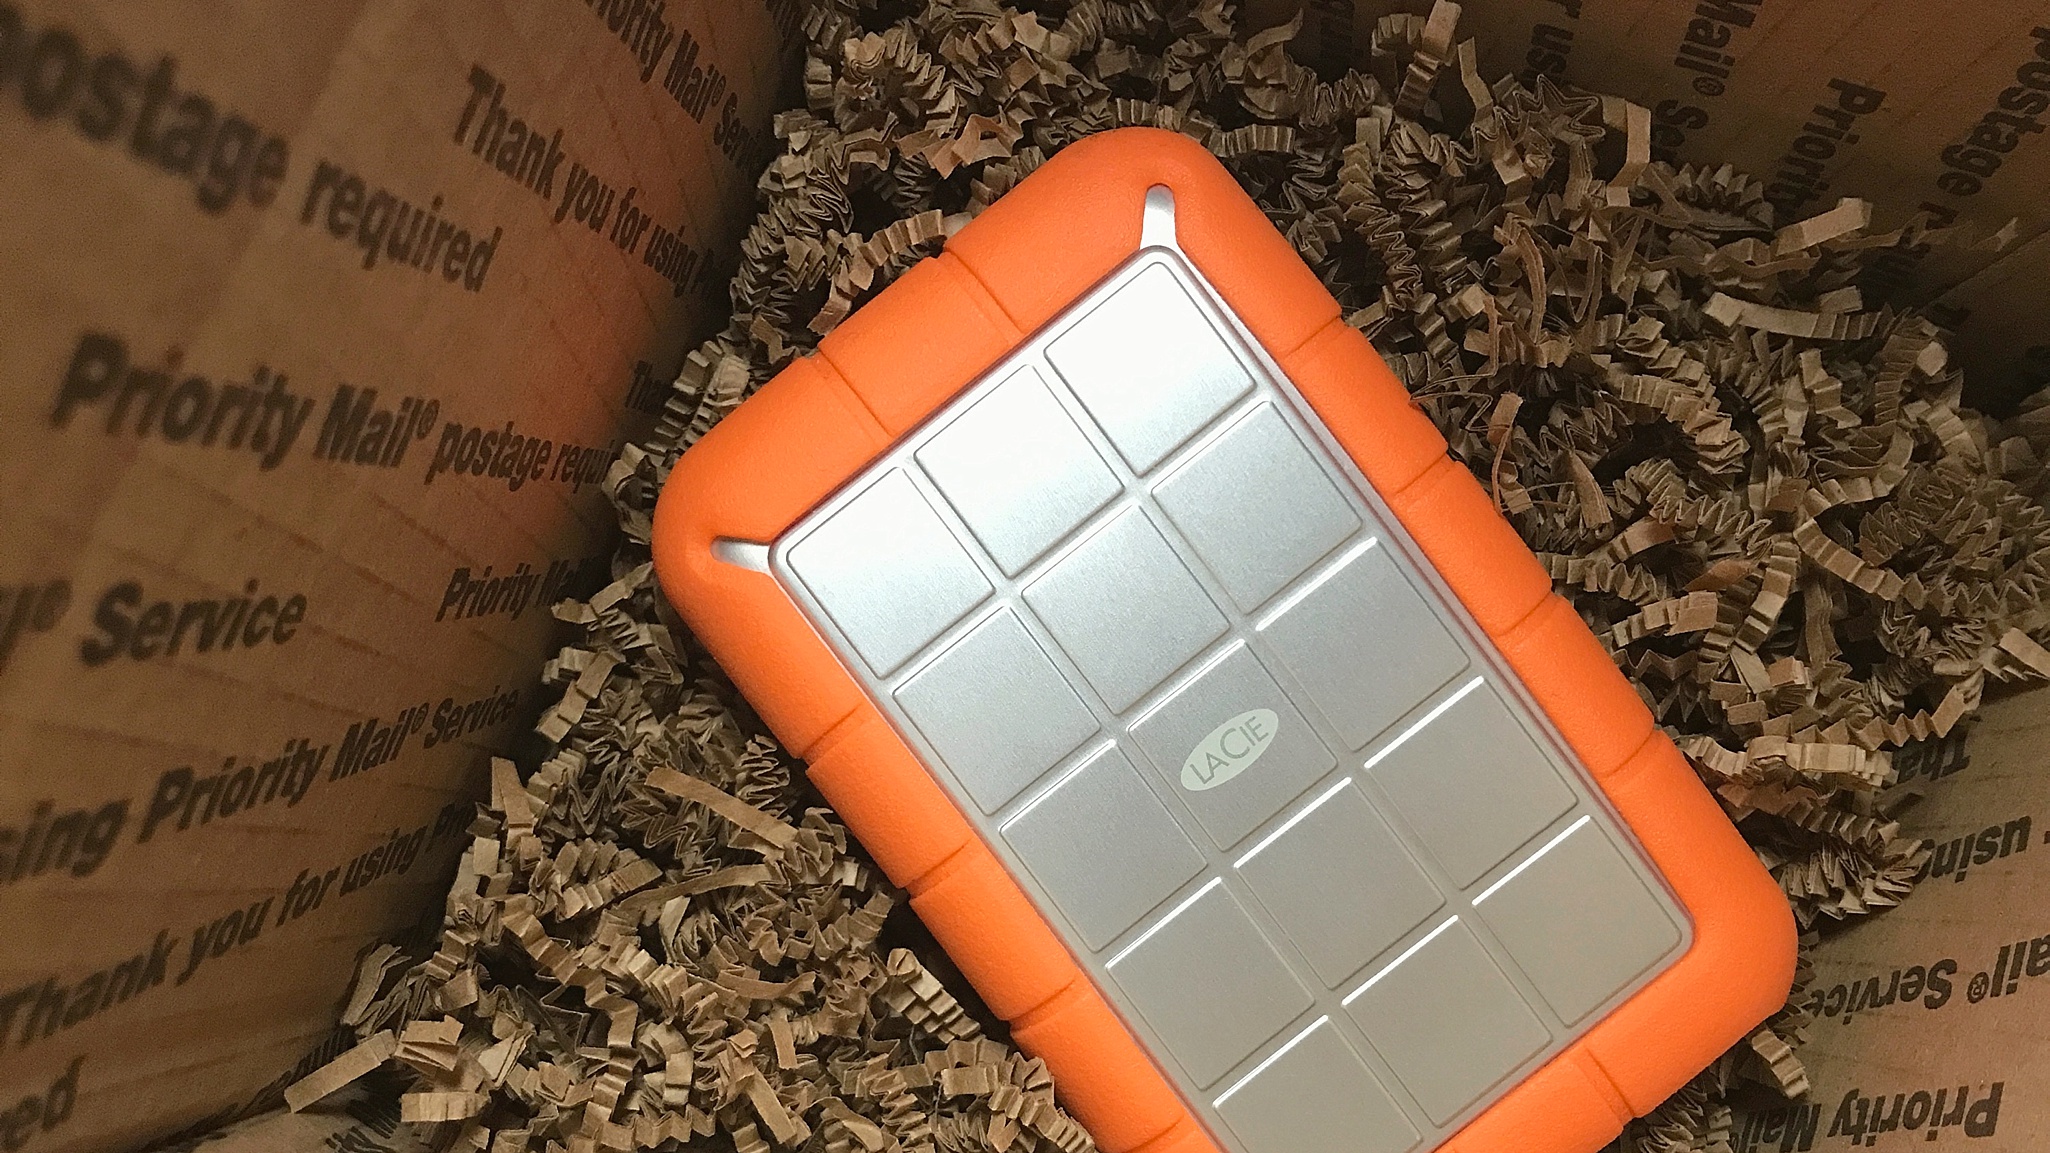
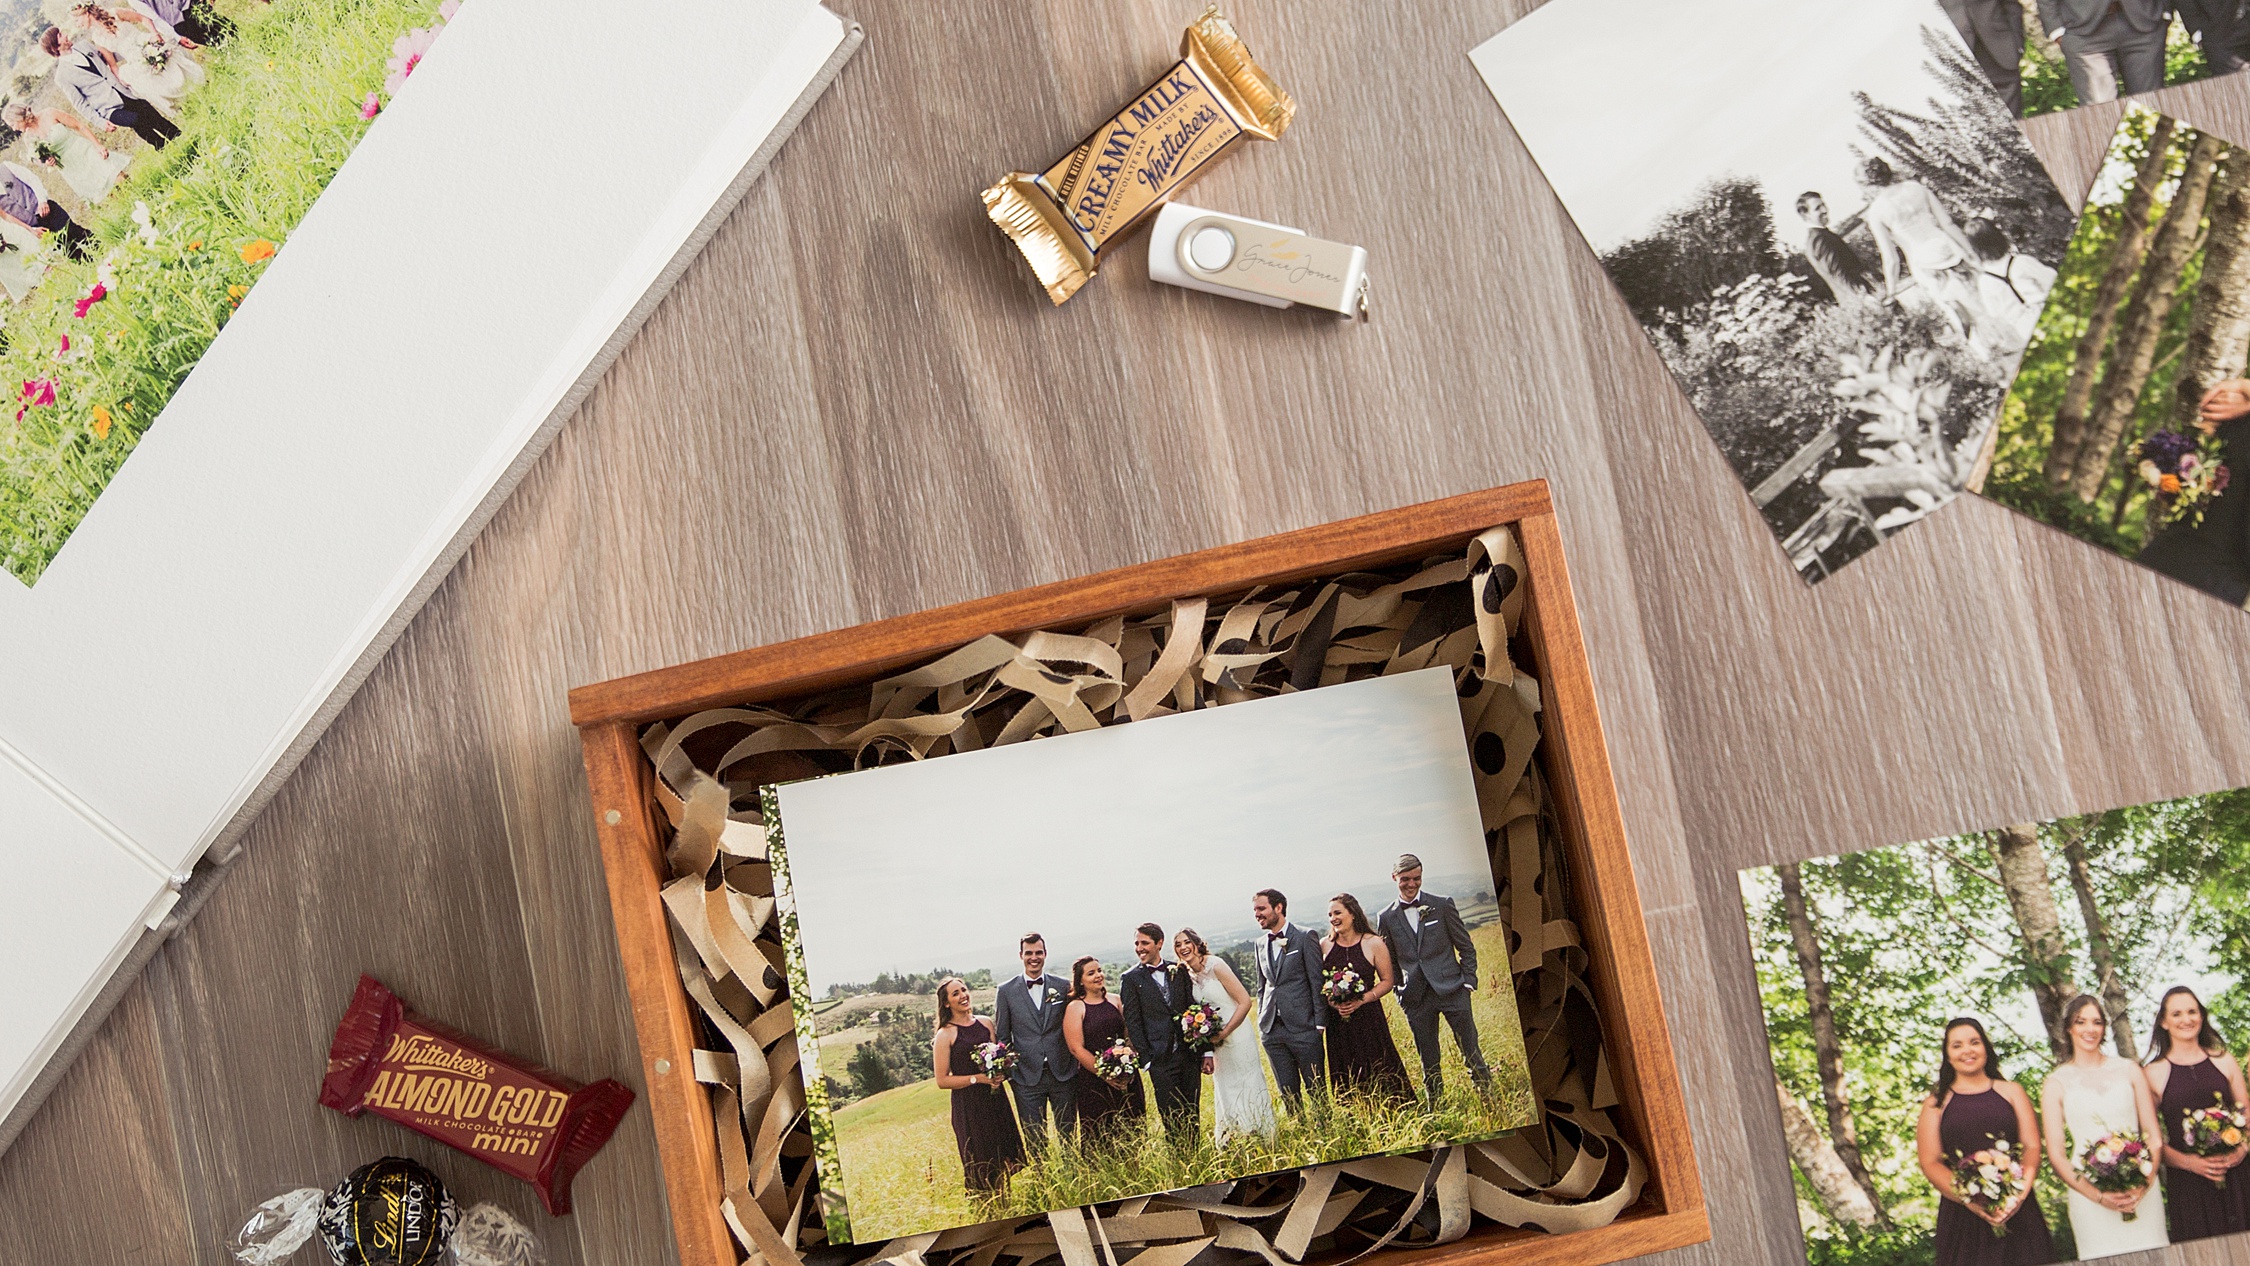
We often make it our top priority to share images on our social channels. Collecting likes and comments is addicting, and while it can help promote our business, serving our clients should come first. Getting your clients’ images into their hands should be the number one goal of our efforts. Whether you present your clients’ images in person or online, offering digital downloads or printed photos, make a priority of delivering your images. There are companies who make beautiful presentation boxes that you can brand with your logo, add your clients’ name or names, and even include little keepsake items they will be eager to show off to all their friends and family.
Making sure your clients know they’re your priority from the first contact through final delivery will ensure they will sing your praises far and wide, giving you many more opportunities to “wow” the future clients they send your way.
———
There’s no “right way” to structure your business or your workflow, so it’s important to arrange a system that is right for you. But following these steps can help to keep your workflow in check, freeing you up to meet with potential clients, maintain relationships within your market, and spend time doing the things you love to do rather than forever chasing a post-production to-do list.
The right mindset and the right set of tools in your toolbox will give you freedom of time and peace of mind to ensure your business’s success.
Happy Stomping!!


